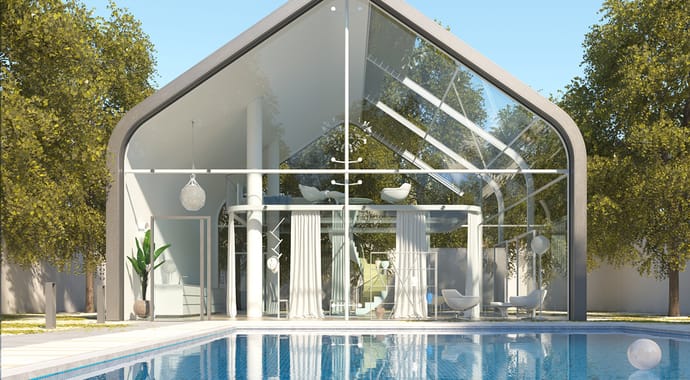
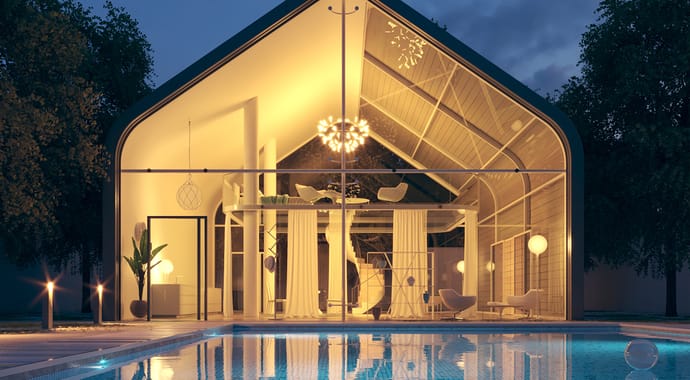
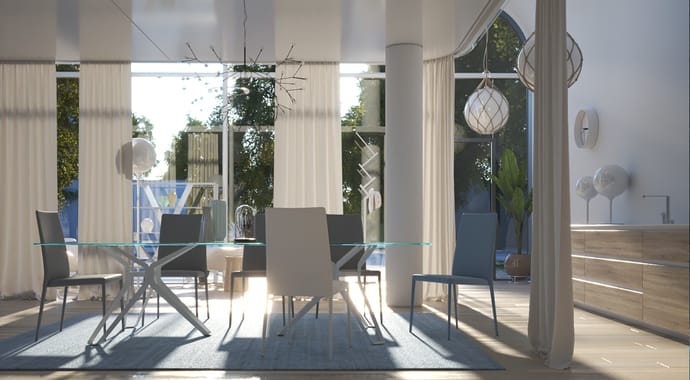
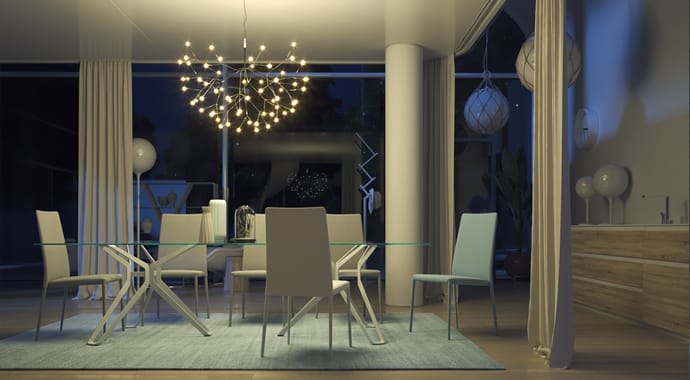
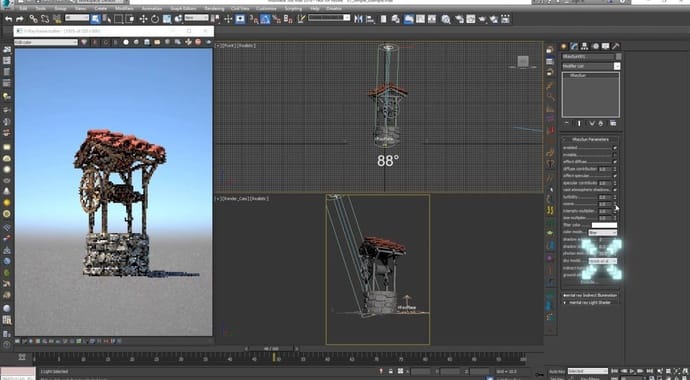
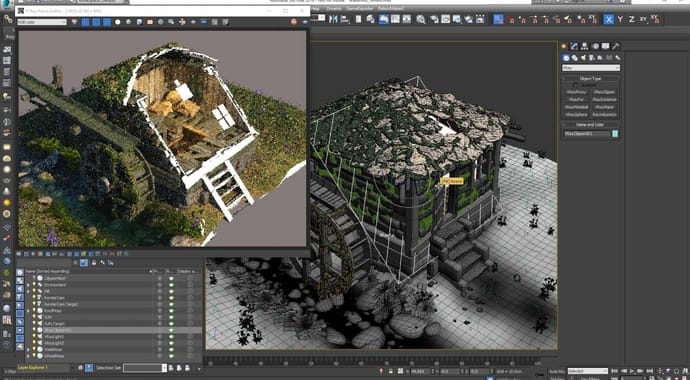
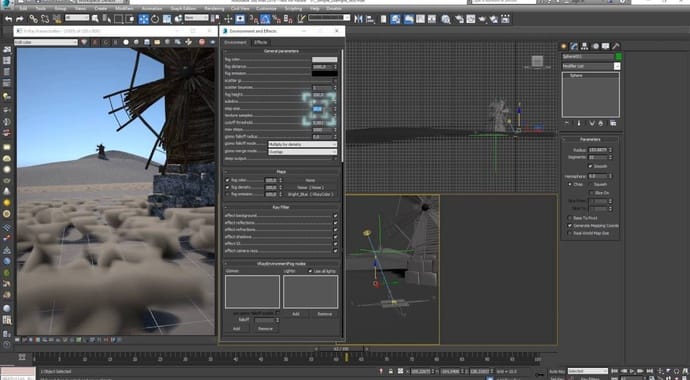
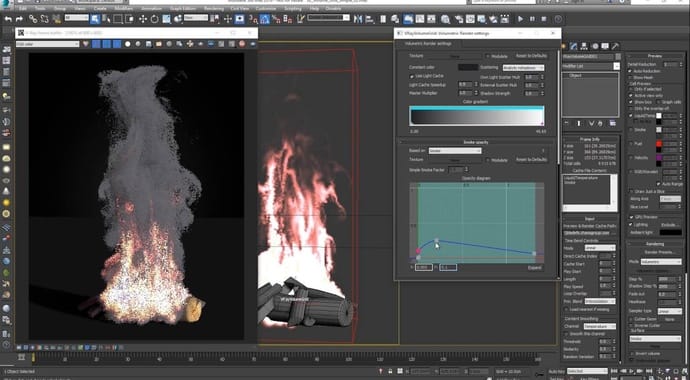
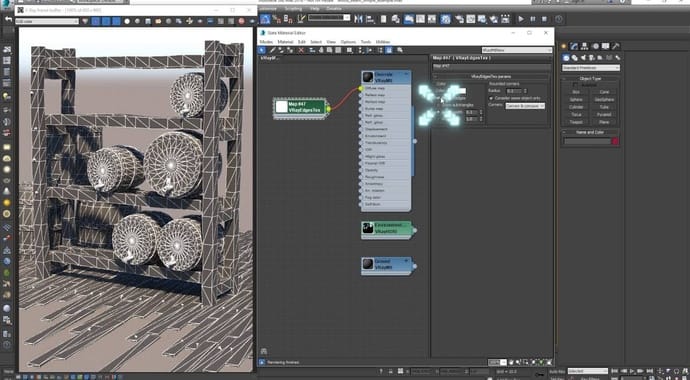
|

VRay for 3ds Max Tutorials
Basic Texture Baking with V-Ray, part 1


Search Keywords:
bake, baking, render to texture
In this tutorial we will discuss the process of texture baking with
V-Ray.
Rendering to texture, or "texture baking,” allows you to create texture
maps based on an object's appearance in the rendered scene. The textures are
then “baked” into the object that is, they become part of the object via
mapping, and can be used to display the textured object rapidly on Direct3D
devices such as graphics display cards or game engines.
In our case, we will show you how a simple scene can be baked
and how this method can also be used for making a Fly-Through
Animation.
The scene contains 2 objects (the Space ship and the Ground) and 1 Light
source (omni). You can download the initial
scene here.
The objects actually don't have any specific maps (diffuse) but a simple
diffuse color. The materials assigned to them are both V-Ray materials. A
gray one is assigned to the Ground object, and a Green one to the Space
ship. The materials are Default, with Diffuse colors:
- The Space Ship Material : (103, 174, 108)
- The Ground Material : (128, 128, 128)
The Light source (omni) is situated a bit above and aside from the Ship. It
has a Multiplier of 2.0 and
Color RGB (226, 201, 146); the shadow type is
VRayShadow.
1.1. Open the starting scene, which can be found
here.
1.2. Assign V-Ray as the current renderer.


1.3. You can open the Material Editor (M) to assure the materials
are properly set and assigned.

1.4. Before we do our first rendering, we will turn
on the Frame Stamp (System Rollout) so
that we can have the render times shown.

1.5. Render:

That is what we get with all default V-Ray Settings. To make the lighting
a little more interesting, we will add global illumination and area shadows
to the rendering.
1.6. Go to
Image sampler rollout and set the
Image sampler type to
Adaptive DMC.

1.7. In the
Indirect illumination rollout, turn
GI on and set both
the Primary and
Secondary GI engines to Quasi-Monte Carlo.

1.8. In the
Environment rollout, turn
Override MAX's (Skylight)
on and set Color
(255, 255, 255) and
Multiplier to 0.8.
This will give us some environment color to act as a skylight.

1.9. Render:

Notice how the render time has increased, due to all
the changes we made on the render setup.
1.10. Turn on the Area
Shadow of the omni light.

1.11. Render:

Now we have the area shadow.
The image looks good, but grainy. To reduce the noise, we will adjust the
DMC sampler parameters.
1.12. In the
DMC Sampler rollout, set the
Noise threshold to 0.001.
1.13. Set the Global subdivs multiplier to
10.0.

1.14. Render:

Notice how the render time has increased, but the
quality is much better. Now our scene is ready for baking.
2.1. Before all, we will turn Off the
Frame Stamp (System Rollout), otherwise we
will get it on our baked textures as well, which we do not
want.

2.2. Now open the Render to Texture (0) Window from the Rendering
Menu.
2.3. Choose your Output folder, where the
new baked textures will be saved.

2.4. Select both objects from the scene (the Space ship and the Ground).
2.5. In the Mapping Coordinates Section - select
Use Automatic Unwrap.

See how both objects were automatically added in the table of Objects
to Bake.
2.6. In the Output rollout - choose 512
for the Size, turn on Enable (if not), and
give the map a name in the name-field.
This actually will be the suffix-name of your newly baked texture files,
prefixed by the name of its object in the scene.
For example: in our case the baked map of our Ground object will
have the name: GroundCompleteMap.tga

2.7. In the Baked Material rollout - choose
Save Source (Create Shell).
2.8. Select the Create New Baked option and
choose (Standard: Blinn) from the pop-up menu.
2.9. Select Keep Source Materials.

2.10. Now go back to the Output rollout - choose
Self-Illumination in the Target Map Slot.
See how this is automatically added in the table as well.

Leave all the other settings by Default.
Now our objects are ready for baking (rendering).
3.1. Hit Render Button on bottom of the Render to Texture
Window.
3.2. You can see that the baking process proceeds in a row
object by object, as they were set in the table.
First is being rendered (baked) the Ground object followed by the Space
ship.


4.1. Open the Material Editor (M) and choose an empty one.
4.2. Click on the Get Material icon to open the Material/Map
Browser.
4.3. Select Browse From: Scene
4.4. You will notice that there are 2 new materials. They are Shell
Materials and contain both the original V-Ray material and the new
Baked Material in them.
That is because we wanted so: see steps 2.7, 2.8, 2.9
4.5. Drag the new materials in the Material Editor as shown.
4.6. In the new Shell Material Paramaters, choose the Baked
Material for Viewport, and Original
Material for Render.
This simply means that:
- if we do a new fresh render (F9) - the object will use their
Original material (VRayMtl).
- in all the viewports - the objects will use their Baked
Material (Standard).

4.7. Select the new Ground Shell Material -
ground_material[Ground].
4.8. Turn on
Self-Illumination and select a pure white
Color (255, 255, 255). See that
there we already have the Baked Map attached.
That is because we choosed exactly this Target Slot
(see step 2.10)
4.9. Go to the Self-Illumination Map, and turn
on the Show Map in Viewport icon.


4.10. In the Viewport, you should be able to see the ground plane with
its already baked map.

Note: if you forget to turn on the
Show Map in Viewport icon, the viewport would look
just like this:

At this point, the Space ship is still being shown as totally
black because we still haven't adjusted its material.
4.11. Repeat steps from 4.7 to 4.9. for the new Space ship material -
ship_material [Space_Ship].
Now the viewport should look like something like this (notice how the
Edged Faces (F4) can be also shown along with the baked maps).
 |
 |
|
Shade + Edged Faces On
|
Shade + Edged Faces Off
|
4.12. Here are some additional views of the scene from different
positions:

5.1. Open the Material Editor (M).
5.2. Choose the Baked Material in the
Render option for both our Shell Materials.

5.3. Select the omni light and switch it off.
Actually we can even delete that light from the scene and it will
still render fine - we have all the lighting baked into the textures
already.

5.4. In the V-Ray settings, turn GI
off, Environment
(Skylight) off,
Default Lights off.
5.5. Render:

Notice the render time. In step 1.14. we had 4m:35s compared to 8.6
seconds that we get now. That is simply because with the baked textures
V-Ray is not doing any lighting calculations. You can even switch to the
default scanline render and still get the same result.
Having all this in mind, you can animate a camera and render a whole
fly-through animation with very short render times per frame.
Notes:
We will show You another method, which can produce absolutely the same
result as the above. This one concerns steps from 2.7 to 2.10.
Because the VRayMtl does not support a
Self-illumination map, we will use the VRayLightMtl. The new
baked maps will be automatically placed in the
Texmap slot. Then for previewing the baked results, You repeat steps
from 4.7 to 4.11 (of course considering in mind the new VRayLightMtls).


In the next part of the texture baking tutorial you will learn how to
bake only specific elements of the rendering (e.g. only the lighting or GI).
|