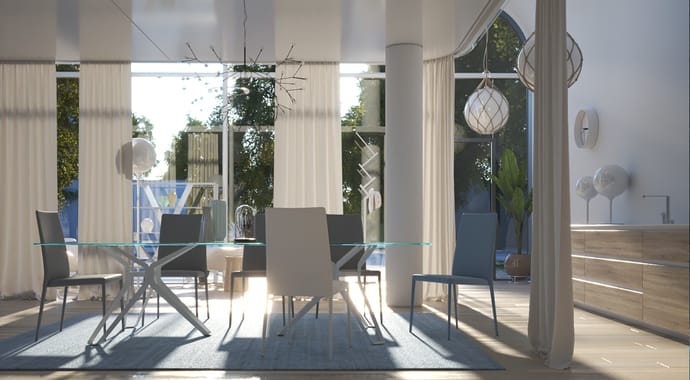
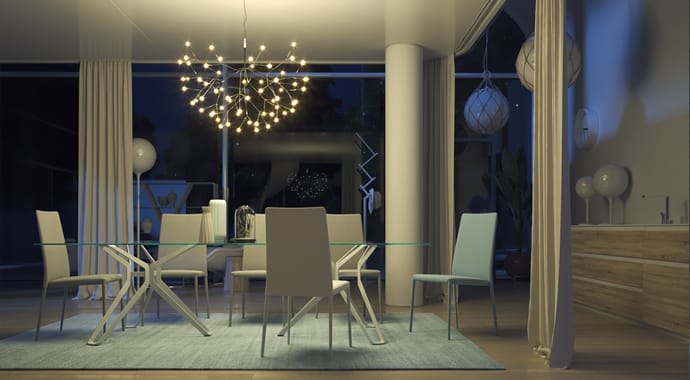
In this quick start tutorial, we will cover how to set up, light and render an interior day scene. As part of the video, we’ll also go over the V-Ray Denoiser, Adaptive Dome Light and LUT adjustments.
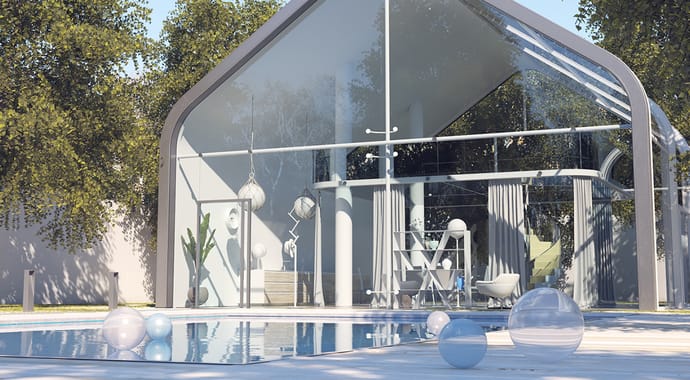
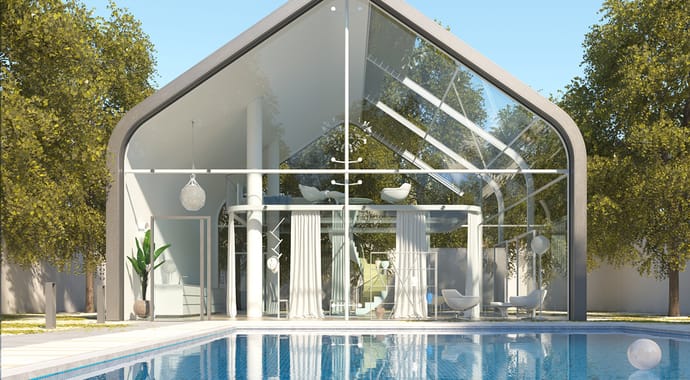
In this video, we’ll discuss how to set up an exterior lighting for a daylight scenario. You will see how to work with the different light settings including V-Ray Sun, V-Ray Sky and Dome Light to achieve a desired daytime lighting for your scene.
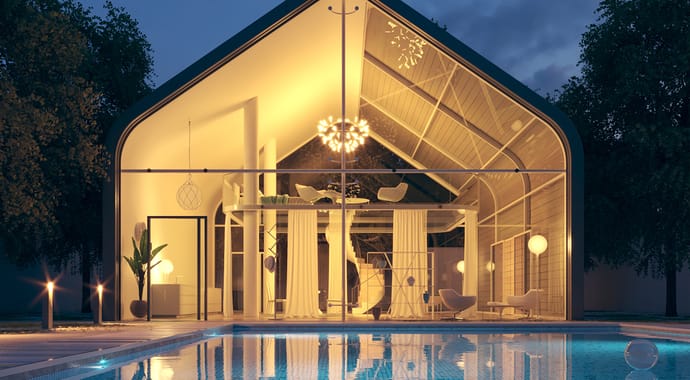
In this video, we’ll guide you through an exterior lighting setup for a nighttime scenario. You’ll see how easy it is to use different light options such as plane, sphere and mesh lights to enhance your night scene renders.
In this third quick start tutorial, we will cover how to set up, light and render an interior scene. We’ll start with a daylight setup, and then in the second part, we’ll cover how to switch to a night time lighting scenario.
In this quick start tutorial, we will explore how to create a night time lighting scenario for your interiors. You’ll see some examples on how to simulate light shining in from the moon and adjust the lights and colors for maximum realism.
In this tutorial, we will go over the process of creating common materials in an everyday interior scene. This includes materials like plastic, metal, glass and fabrics, building upon what we learned in the previous tutorials covering exterior and interior lighting.
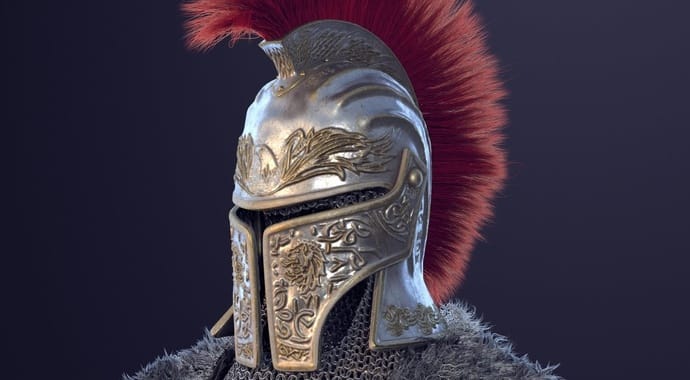
Learn how to use V-Ray GPU supported features such as the displacement modifier, V-Ray Hair Material, and Ornatrix plugin. This scene is available for 3ds Max 2014 and up.
In this video tutorial take a look at how the V-Ray Denoiser works, and what can be achieved with it. You’ll also learn how to use the V-Ray Denoiser as a standalone animation tool.
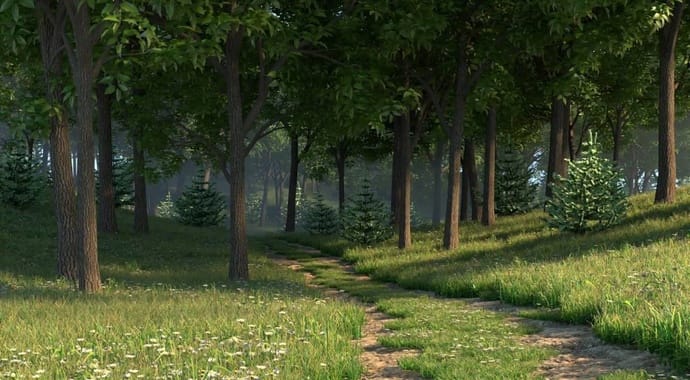
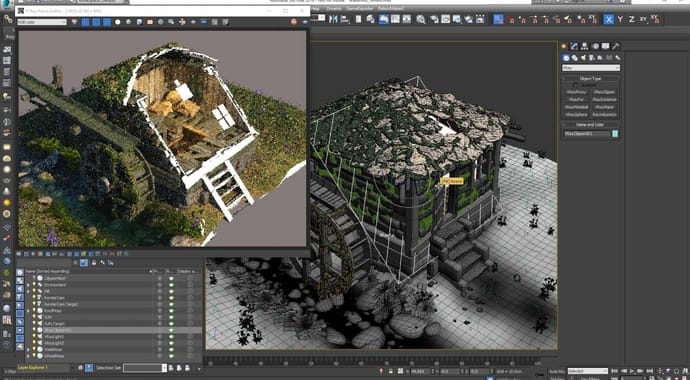
Use the Forest Pack scattering tool to easily create wooded landscapes, supported in V-Ray GPU rendering. You’ll see distributed rendering in action, too.
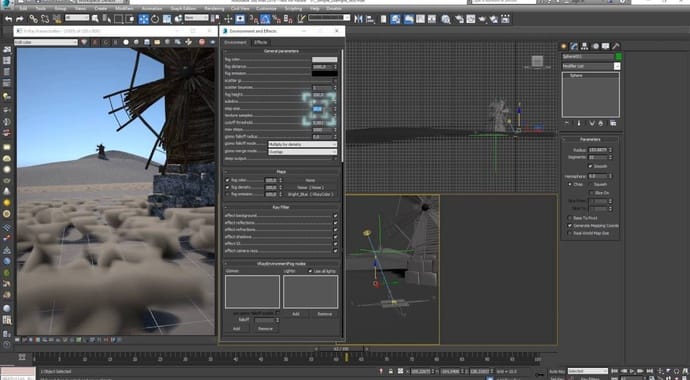
In this video tutorial, we’ll introduce the V-Ray sun and sky system, and its different sky models. You’ll learn how to use parameters to fine tune your scene.
This video demonstrates the V-Ray Clipper feature. This performs render-time sections, cut-outs, and booleans, and fills gaps in geometry left from cutting.